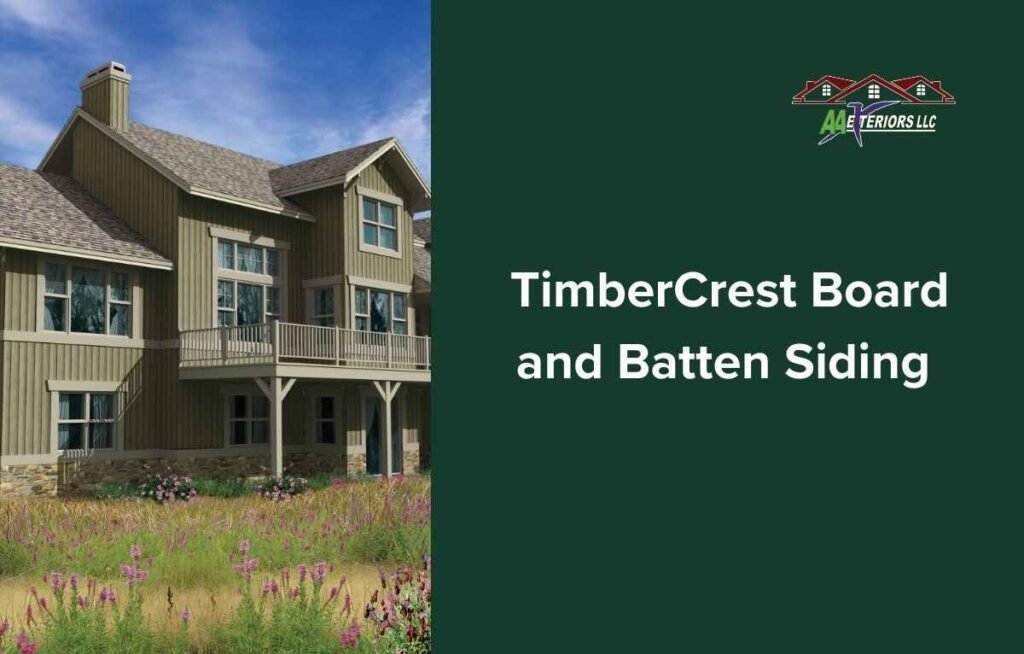
Step-by-Step Guide to Installing TimberCrest Board and Batten Siding

Preparing for Installation
Gather Necessary Materials and Tools
Before you begin the installation, make sure you have all the required materials and tools on hand to streamline the process:
- Materials: TimberCrest board and batten siding, nails or screws, trim pieces, weather-resistant barriers, and caulking.
- Tools: Hammer or nail gun, tape measure, level, circular saw, chalk line, safety equipment (gloves, goggles), and ladder.
Inspect and Prepare the Surface
A proper foundation is critical for a successful installation. Ensure the surface is clean, dry, and smooth.
- Clean the surface: Remove any dirt, old siding, or debris.
- Repair any damage: Patch holes or cracks in the wall surface.
- Apply a weather-resistant barrier: Install a house wrap or similar material to protect against moisture.
Measuring and Cutting the Siding
Measure the Area
Accurate measurements are crucial for a neat and professional finish. Measure the height and width of the walls to determine the amount of siding needed.
- Height and width: Measure from the top to the bottom and side to side of each wall.
- Account for openings: Subtract the area of windows and doors.
Cut the Boards and Battens
Cut the boards and battens to the required lengths, ensuring precision to avoid gaps or overlaps.
- Use a circular saw: For clean and straight cuts.
- Measure twice, cut once: Double-check measurements before cutting to avoid mistakes.
Installing the Siding Boards
Start with the Trim
Begin by installing trim pieces around windows, doors, and corners to frame the area where the siding will be placed.
- Secure the trim: Use nails or screws to attach the trim securely.
- Ensure alignment: Make sure the trim is level and plumb.
Install the First Board
Position the first board at one corner of the wall, ensuring it is level and plumb.
- Secure the board: Nail or screw the board into place, starting at the bottom and working your way up.
- Check for level: Continuously check that the board is level as you secure it.
Continue with Subsequent Boards
Place the next board adjacent to the first, leaving a small gap (typically 1/8 inch) for expansion.
- Overlap slightly: Ensure slight overlapping for a seamless look.
- Secure each board: Nail or screw each board, maintaining alignment and spacing.
Adding the Battens
Measure and Cut the Battens
Cut the battens to the height of the wall, ensuring they match the length of the boards.
- Consistent lengths: Ensure all battens are cut to the same length for uniformity.
- Clean cuts: Use a circular saw for straight edges.
Install the Battens
Place the battens over the gaps between the boards to cover the seams and provide a finished look.
- Center the battens: Align each batten over the seam between two boards.
- Secure in place: Nail or screw the battens into the underlying boards, ensuring they are straight and evenly spaced.
Final Touches and Inspection
Caulking and Sealing
Apply caulking around the edges, corners, and trim to seal any gaps and protect against moisture.
- Use exterior caulk: Choose a weather-resistant caulk for durability.
- Smooth the caulk: Ensure a clean finish by smoothing the caulk with your finger or a tool.
Inspect the Installation
Carefully inspect the entire installation to ensure all boards and battens are securely attached and aligned.
- Check for gaps: Fill any visible gaps with caulk or additional nails/screws.
- Ensure uniformity: Make sure all boards and battens are evenly spaced and level.